Would this be a food blog if we didn’t give the viral sensation of the Japanese Jiggly Cheesecake a go?! Spoiler alert, unless you are a professional and have the perfect kit (and maybe even then), this is unlikely to work on your first go!

For these we used the Buzzfeed Tasty recipe. We know a lot of people have used this one and had success, so we were optimistic about our chances. It required 13 eggs, which is a lot if you need a few attempts to perfect this.
The first step was to melt together the butter and cream cheese, then the addition of milk. It’s worth doing this first so that it has time to cool down a bit. This prevents cooking the eggs when you add them!


To separate the egg yolks from the whites, we went for the tried and tested ‘flip it between the 2 shell halves’ method (that must be the scientific name for it) and it worked well! The cream cheese mixture was then added to the whisked egg yolks, ready for the flours to be added.
The fluffy jigglyness of the cheesecake is all from the whipping up of the egg whites to make a beautiful meringue. This part reminded us that we need to invest in a stand mixer! It did work really well with our handheld electric whisk, but it did take a while. The meringue was then folded into the cake mixture made before.

The set-up of the cake for it to cook was definitely unusual so we probably didn’t have the best kit available, but we made it work! We used a springform cake tin, so we needed to add a foil layer to the bottom to avoid any leakage. the greased and foiled cake tin was then placed on some kitchen roll in a boiling water bath.

Once the cake had been in the oven for a fair while, we checked that it was cooked by using a skewer and everything was looking good! We did notice that the cake hadn’t really risen though…

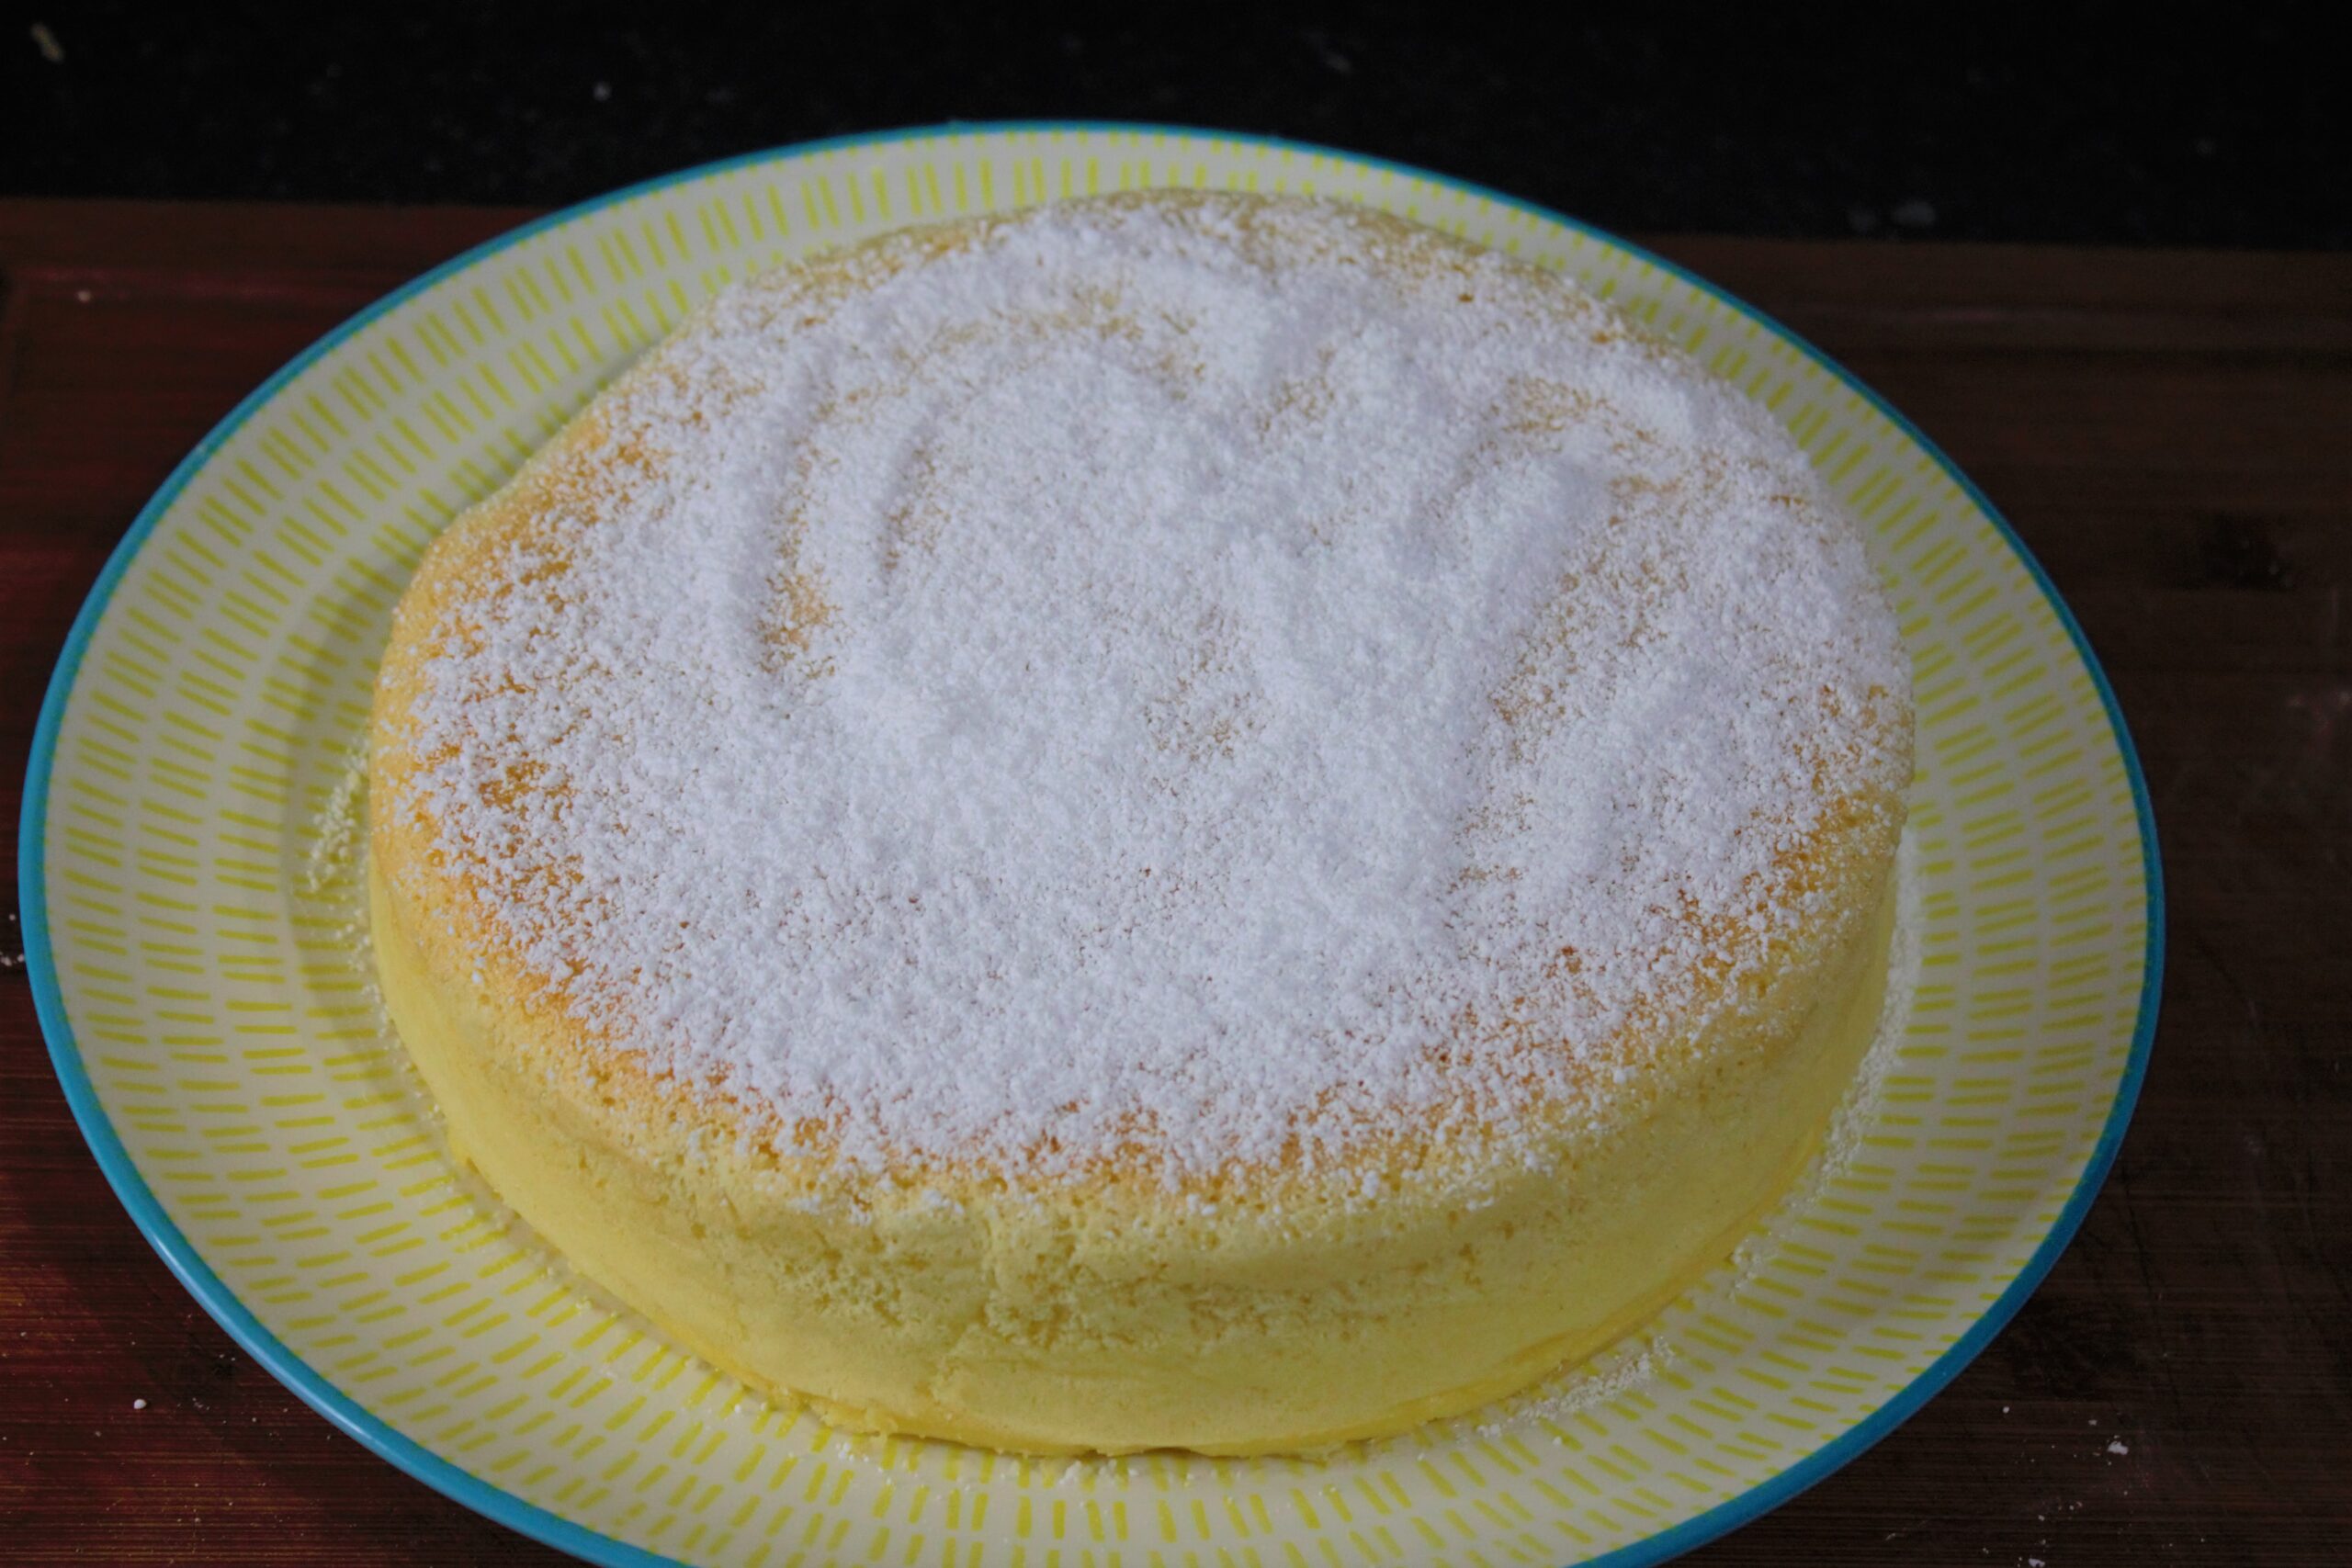
The cake had an overall lovely golden colour and was very soft and bouncy on the top, which was ideal! We dusted it with icing sugar to finish it off.

It was all looking pretty good!
The proof of the pudding came when the cake was sliced! This is where we started to figure out why this did not go perfectly.

The top layer of the cake was the perfect consistency and completely what we were aiming for. It just melted in the mouth with a lovely subtle flavour. 100% would recommend! The bottom layers however, were essentially custard (which we’re not taking as a bad thing!). Still tasty, still safe to eat, just not the plan.
So, what happened?
We have a couple of theories as to why this may not have worked 100% according to plan:
- The bottom of the cake tin was not sealed. Although we added the foil layer to prevent leakage, there was definitely still leakage!
- Foil may have increased the temperature at the bottom of the cake so it cooked faster.
- Too slow adding the final mixture to the pan. We definitely faffed a bit when prepping the cake tin with the greaseproof paper (tip: do this before starting) and left the wet and dry ingredients together for too long.
Any other theories? Please let us know on our socials! We’re planning on trying this one again and will take any tips from anyone who has done it successfully!
Back to the start? Click here
Back to the main? Click here